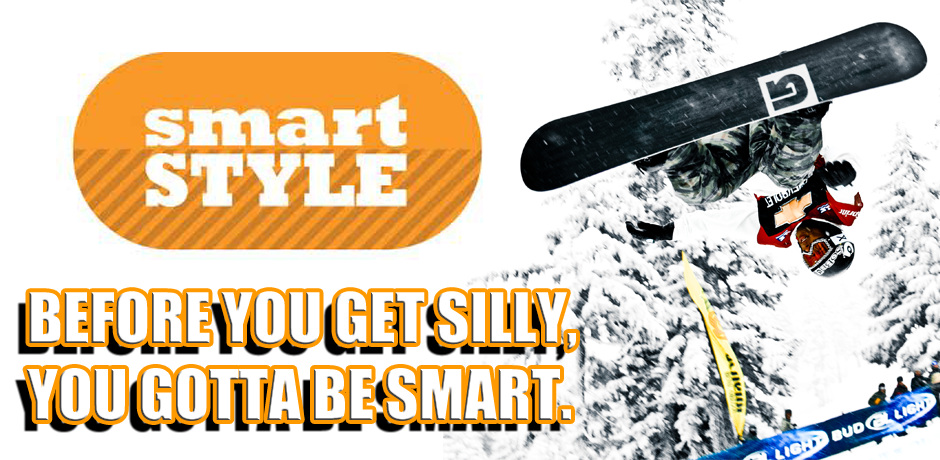
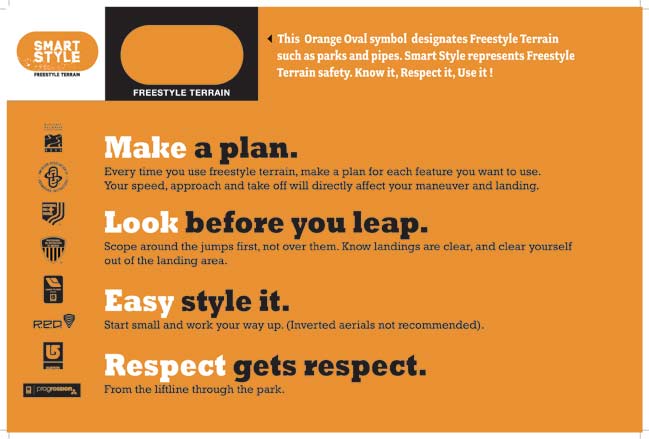
Crushing hand-placed steel, boosting out of the half-pipe or hucking your meat over table-tops isn`t exactly synonymous with safety. But if you want to do wicked things in the terrain park you need to be fearless and smart enough to respect the rules. Burton`s 4-step Smart Style methodology illustrated in the images above is super simple to understand and follow. But Step 1 of Smart Style, “Make a plan,” is the all-important look before you leap step and deserves a bit more elaboration. Check it out…
Burton Smart Style Step 1, “Make a plan” explained
Killing it in the park isn`t necessarily a cerebral activity. It`s more about free-flowing creativity, ninja-like athleticism and balls-to-the-wall self-expression. But before you can get silly in the park, you`ve gotta be smart.
Make a plan. Never blindly charge a feature or jump without understanding…
1.) …the amount of speed you`ll need to successfully & safely complete the maneuver.
Too much speed can be just as dangerous as not enough. If you approach a feature too fast, you could over-shoot your landing causing you to compress badly and seriously risk injuring your knees, ankles, back or any number of body parts that we don`t want wrapped in bandages or encased in hard-casts. Always make a test run towards your terrain park feature first without actually launching onto or over it until you`ve got the speed dialed in.
Make a plan. Never blindly charge a feature or jump without understanding…
2.) …how your snowboard or skis will physically react when making contact with the feature.
It`s always smart to ride over to your rail/box/take-off point to literally feel the feature, as well as the snow conditions with your hands. Slide your hand across the top of the box/rail to see if it`s sticky, slippery, knobby or shaped un-evenly. Likewise, if you`re goal is to launch off a jump, test the snow conditions at your take-off and landing point to see if it`s slushy, icy, choppy, grabby or any other less-than-perfect snow condition. That way, you`ll be prepared for the physical stress placed on your plank(s) upon take-off & landing so you can make micro-adjustments for control under your feet.
Make a plan. Never blindly charge a feature or jump without understanding…
3.) …how the feature will affect your center-of-gravity, ultimately affecting your body positioning during take-off & landing.
Based on the shape of the lip, will your body shoot straight-up into the air or will you be thrown more outward than upward? Will your body be sent-off slightly outward at an angle (i.e. the base of your board/skis not parallel to the ground)? Or is the jump shaped so that you`ll fly straight from the start? Understanding this component will allow you to position your center of gravity properly over your board/skis so that you`re balanced throughout the maneuver from start to finish, as well prepare you for mid-air adjustments to re-center your weight properly for landing.
AlpineO Snow Photo Tech Tip: Smart Style in front of the camera too
Understanding the components of Smart Style are important for safety as well as creating top-quality ski & snowboard action shots. If rider & snowtographer aren`t synchronized as to the approach speed, body postioning throughout the maneuver (at take-off, in the air, on or over the feature, at the landing point) it`s nearly impossible to nail that epic freestyle shot correctly.
Got lofty photographic goals up in the hills? It`ll take more than a high-end camera and a snowtog to push the shutter button. Here`s 10 key points for riders to create quality skiing & snowboarding action shots.


Comments are closed.